Master Photoshop for Wildlife Photography — Transform Your RAW Images with Professional Editing Techniques
Learn the exact Photoshop workflow Ray Hennessy uses to transform his RAW photos into natural, polished photographs that stay true to what you saw in the camera, so you can follow the same steps and apply the process confidently to your own images.
This Is For You If...
- You want your wildlife photos to have that "wow" factor polished look without appearing over-edited. Your captures are strong in the field, but they lack the depth and impact they deserve on screen—this course shows you how to give them that professional finish.
- You learn best when things are explained clearly and build one step at a time. The course moves logically from opening a raw file in Camera Raw through layers, masks, adjustment layers, and real-world edits, so everything makes sense as you go.
- You’re cautious about permanently altering your originals. The entire workflow is 100 % non-destructive using smart objects, adjustment layers, and masks, so you can always revisit or change any decision without ever touching the original raw file.
- You want a professional, field-proven Photoshop workflow that is straightforward and repeatable for consistent, natural results. Ray shares the exact non-destructive system he has used for over 25 years on every single image he prints or shares publicly.
Processing that feels natural and not overdone.
What You’ll Learn in This 10 Hour Masterclass!
-
Develop a Confident RAW-Processing Workflow
You’ll begin by learning the same RAW-processing approach Ray uses for his own images. Each step—exposure, white balance, contrast, curves, color adjustments, sharpening, and noise reduction—is explained in a practical, straightforward way. The goal is simply to give you a reliable foundation you can use on any wildlife photo, without guesswork or unnecessary steps. -
Work With the Photoshop Tools That Actually Matter
Instead of sorting through every tool in Photoshop, you’ll focus on the small set that directly supports wildlife photography. Ray shows you how to use accurate selections, dependable masking, careful brushwork, simple cleanup tools, and gentle gradients in a way that feels natural and manageable. It’s an uncluttered, focused approach built around real field situations. -
Use Layers and Masks With Ease and Control
Layers and adjustment layers become a helpful part of your workflow—not something to avoid. You’ll learn how to lighten, darken, adjust color, and guide the viewer’s eye without affecting the original image. By working step-by-step with clear demonstrations, you’ll gain the confidence to apply selective adjustments wherever they’re needed. -
See Complete Wildlife Edits From Start to Finish
Throughout the course, Ray processes real wildlife photos from the RAW file all the way to the final image. You’ll follow along as he corrects white balance, handles challenging lighting, works with both low-key and high-key scenes, manages backlight, and brings attention to wildlife that’s small in the frame. Each example shows the reasoning behind every choice, giving you a clear understanding of the overall process. -
Sharpen and Reduce Noise the Right Way
You’ll learn a measured, thoughtful approach to sharpening and noise reduction—how to apply each one, how to keep the results natural, and why certain steps belong in the RAW-processing stage. The goal is to help your images stay clean and crisp without introducing unwanted artifacts. -
Prepare Your Images for Web or Print With Confidence
When it’s time to share or print your work, Ray shows you how to resize, export, and save your files correctly. You’ll understand which formats to use, how to maintain quality, and how to create master files you can return to later. This section brings clarity to a part of the workflow many photographers find confusing. -
Explore Optional Techniques for More Creative Control
If you’d like to grow beyond the basics, you’ll find several optional lessons that expand your skills without adding complexity. These include using multiple RAW versions through Smart Objects, processing intentionally underexposed images taken in difficult light, creating thoughtful black-and-white wildlife photos, stitching simple wildlife panoramas, and using a graphics tablet for more precise brushwork. Each technique is presented in a grounded, easy-to-follow way.
Bring More Images Back to Life
Introducing...
Mastering Photoshop For Wildlife Photography

Module 1–7: Getting Started with Photoshop for Wildlife Photographers
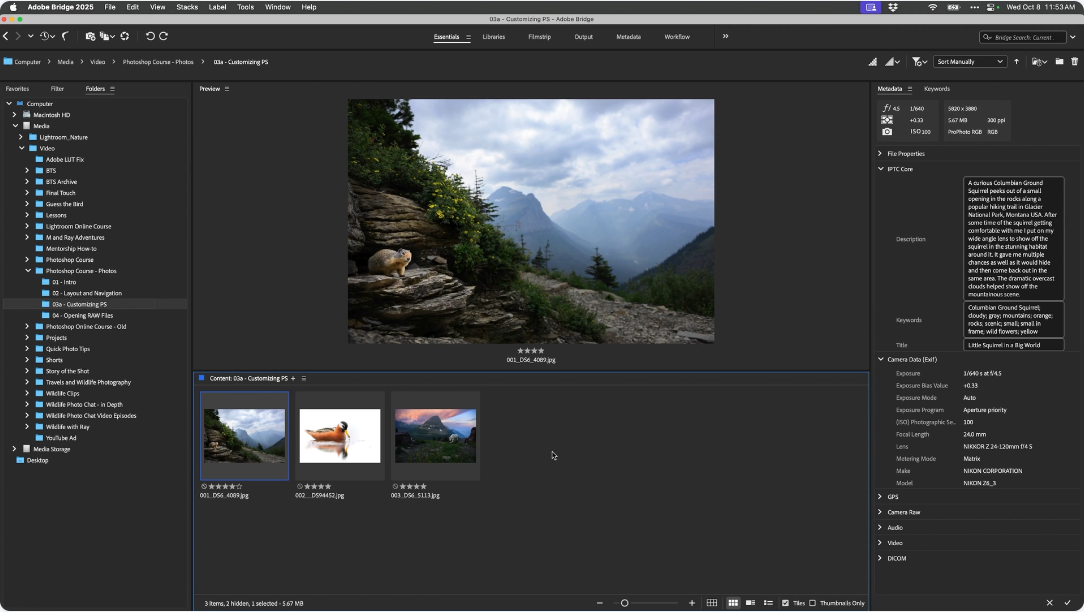
Set up Photoshop and Adobe Bridge so the workspace feels clean, simple, and centered on the image. Learn where everything lives, how to navigate the interface, how tabs and tools work, and how to view, import, organize, and back up your images properly. This section eliminates confusion and gives you a stable, efficient foundation before any editing begins.

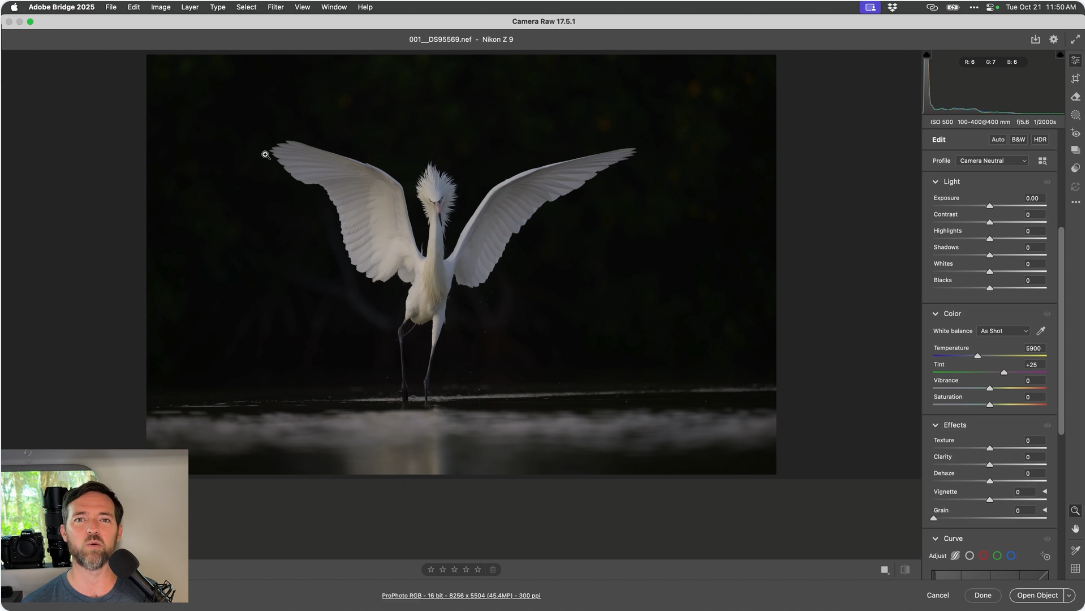
Modules 8–18: Camera Raw – A Clear, Top-to-Bottom Workflow
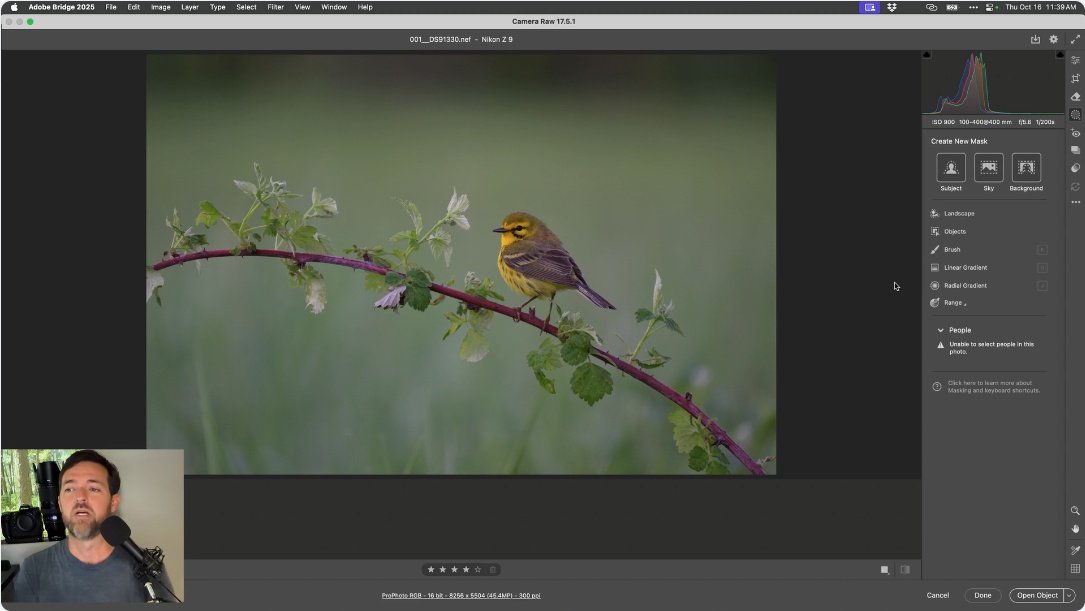
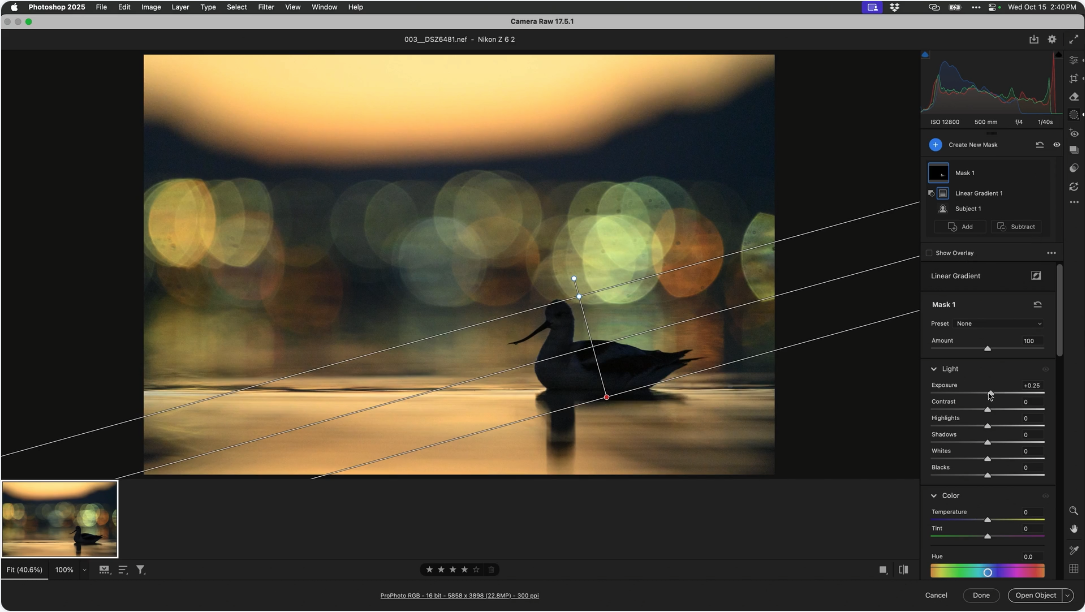
Begin every edit in Camera Raw with a reliable, top-to-bottom sequence. Balance exposure, correct color, manage highlights and shadows, refine tones, use curves, dehaze, fix optics, and understand which sliders matter (and which don’t). You’ll leave Camera Raw with a clean, natural, well-prepared file that makes all later Photoshop work easier, faster, and more consistent.

Modules 19–30: Photoshop Interface, Navigation & Essential Tools
Move confidently from Camera Raw into Photoshop. Learn file formats, saving and exporting, resizing, sharpening strategy, and the foundational tools wildlife photographers use every day — including selections, Select & Mask, healing tools, clone tools, and basic navigation and workflow shortcuts. This section gives you practical control without overwhelm.

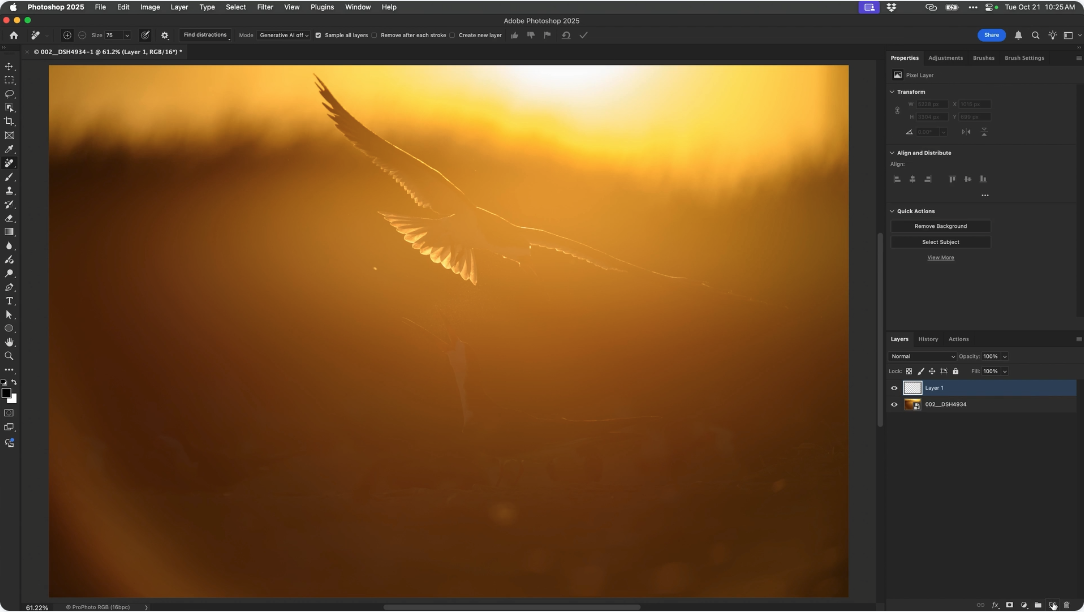
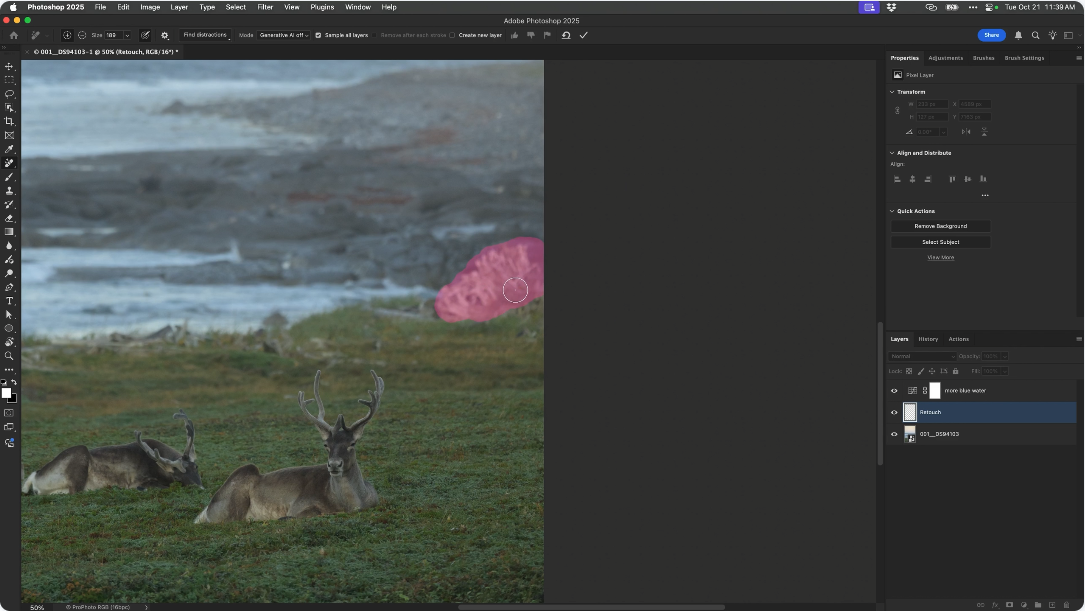
Modules 31–43: Cleanup, Distraction Removal & Retouching
Refine your composition and remove distractions using the Crop tool, Remove tool, Spot Healing, Healing Brush, Clone Stamp, Content-Aware Move, and Generative Fill. You’ll learn what each tool is best suited for and how to keep every cleanup step fully reversible on separate layers.

Modules 44–48: Layers, Masks & the Structure of a Clean Edit
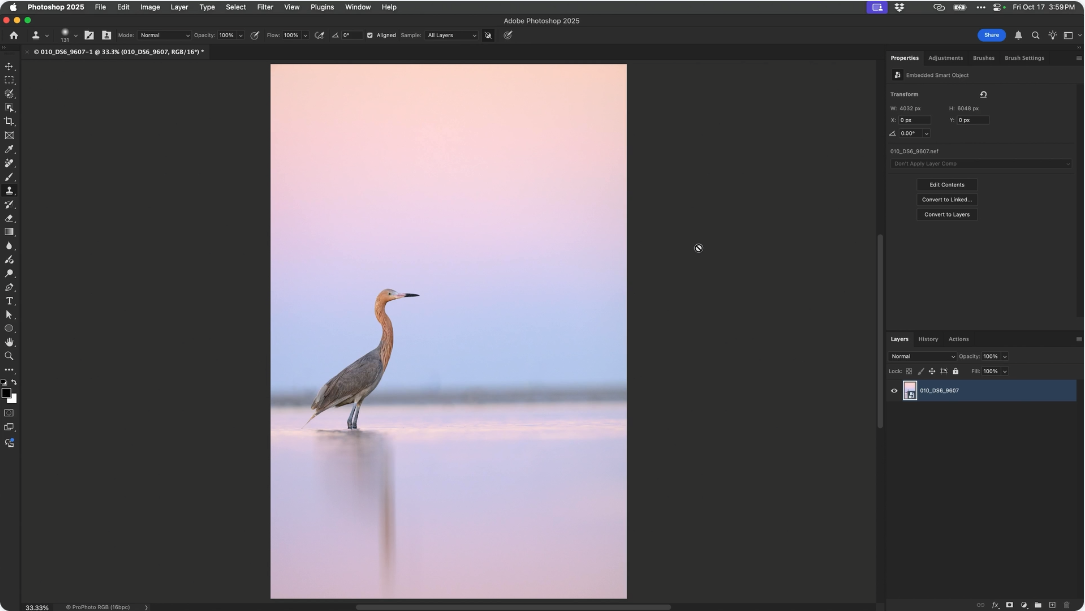
Learn the core Photoshop concepts that make everything flexible and non-destructive: layer types, stacking order, layer masks, adjustment layers, smart objects, and how to selectively control exactly where every edit appears. This is the foundation of all professional Photoshop work.

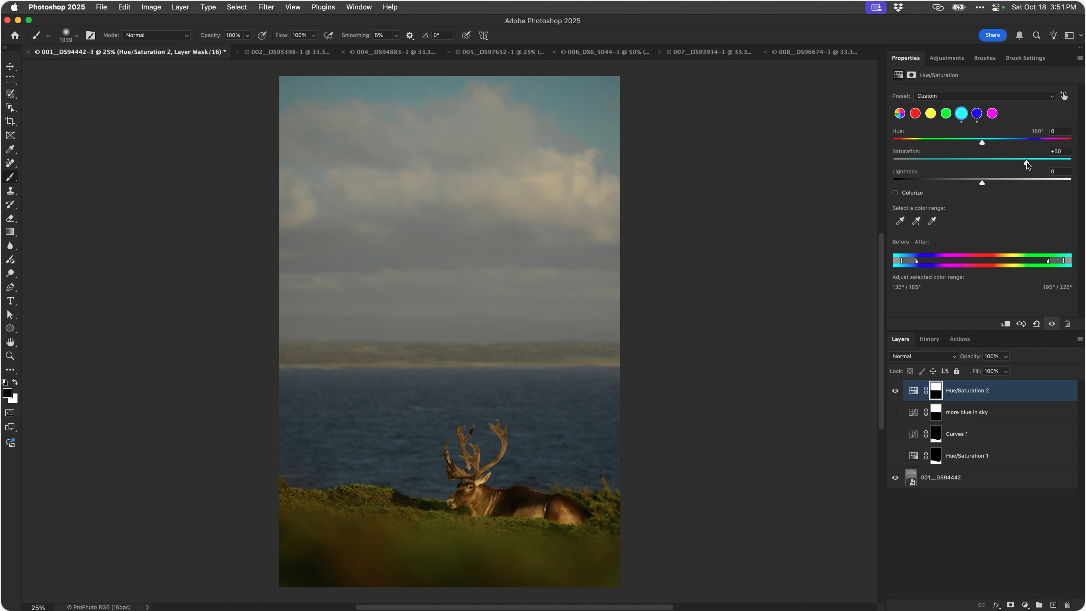
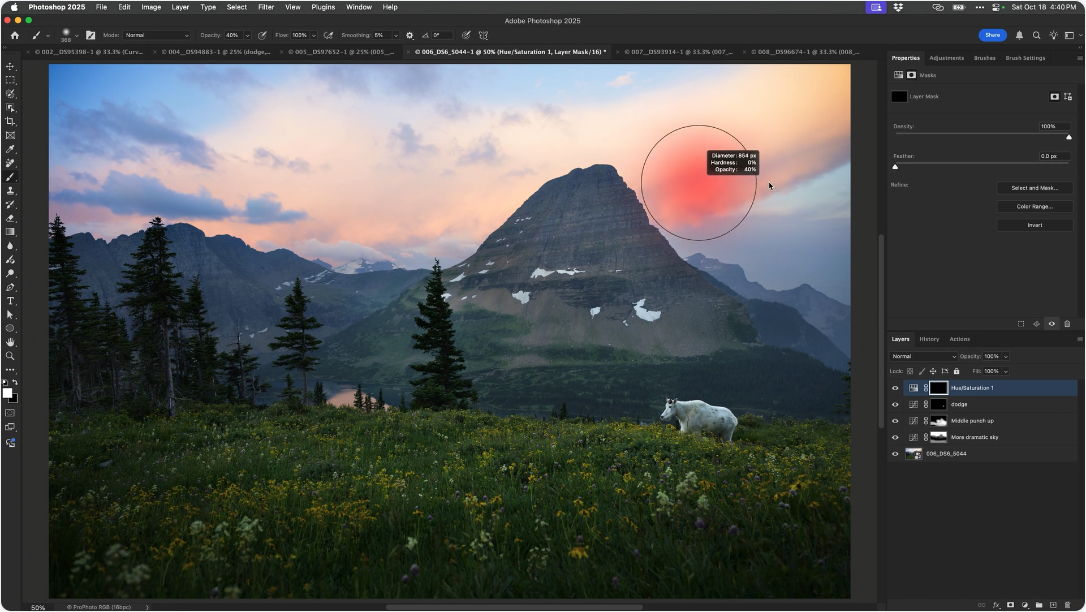
Modules 49–53: Curves and Hue/Saturation — The Only Two Adjustments You Really Need
Use Curves for fine control of light and contrast, and Hue/Saturation for subtle color refinements. With simple masking, you can brighten subjects, deepen backgrounds, and guide the viewer’s eye with ease. This section shows how far you can go with just two dependable adjustments.

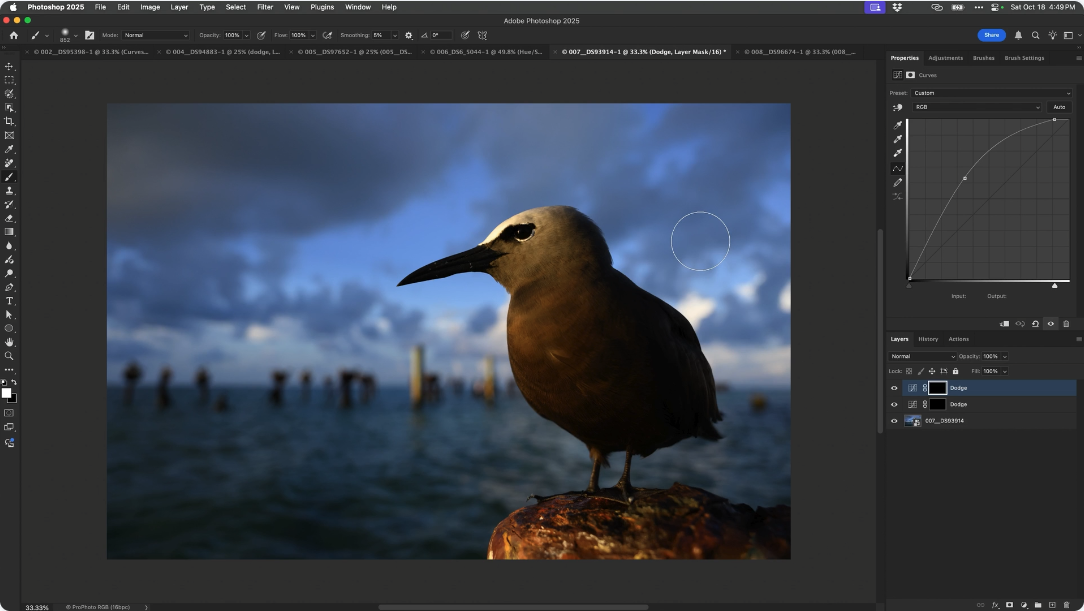
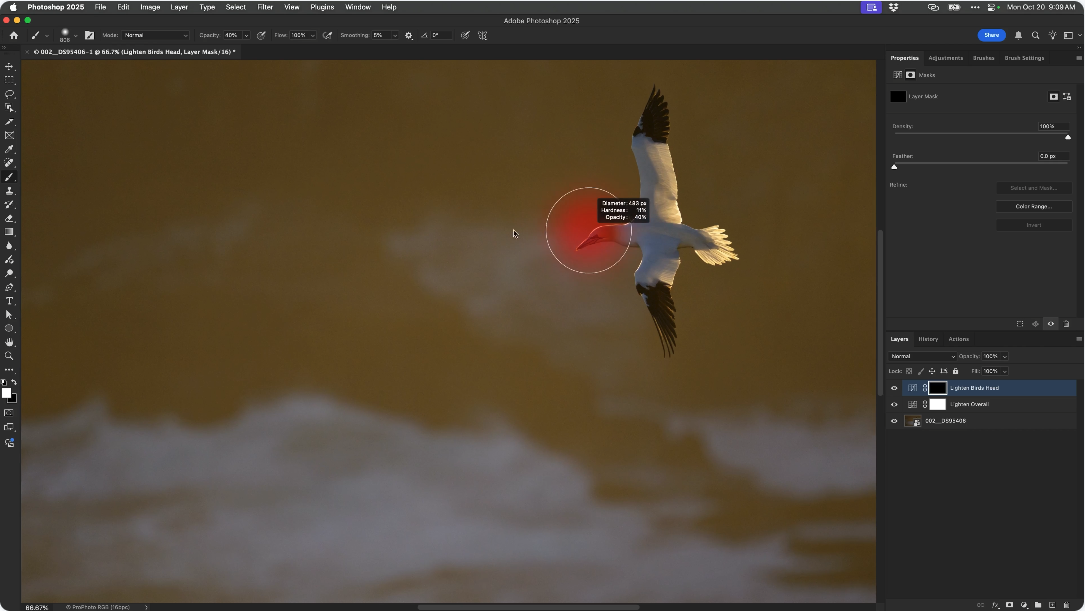
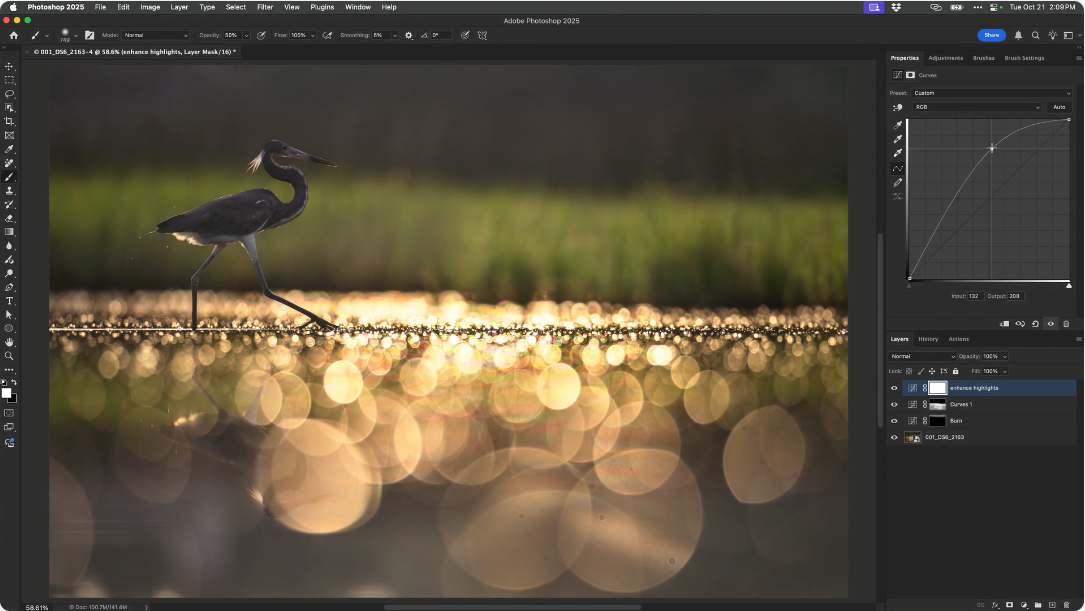
Modules 54–56: Natural, Controlled Dodge & Burn with Curves
Shape light with intention. Create dedicated dodge and burn Curves layers, invert their masks, and paint light precisely where you want it — lightening eyes and faces, adding depth, softening edges, or subtly drawing the viewer’s eye. You’ll learn to enhance the subject naturally while preserving the authenticity of the moment.

Modules 57–58: One-Click Actions for Instant, Repeatable Setups
Record your most-used tasks — like creating dodge/burn layers, standard Curves setups, or repeated adjustment sequences — into custom Actions. With one keystroke, you can create perfectly prepared layers instantly, removing repetitive clicking and speeding up your entire workflow.

Modules 59–60: Smart-Object RAW Blending for Maximum Quality
Use Curves-based dodge and burn layers to guide light with precision and restraint. You’ll create ready-to-paint dodge and burn setups, invert their masks, and use soft, pressure-controlled strokes to brighten or deepen specific areas while preserving the integrity of the animal and scene. This section helps you create dimension, depth, and subtle emphasis without ever altering pixels directly.
Getting the Most Out of Your RAW Files
Act Now and Get These Bonuses FREE!

Module 61: Ray’s Most-Used Keyboard Shortcuts
Learn the exact shortcuts Ray relies on after 25+ years in Photoshop — including his personal custom shortcuts for Curves, Dodge, and Burn. This module helps you work dramatically faster while staying fully focused on the photograph.

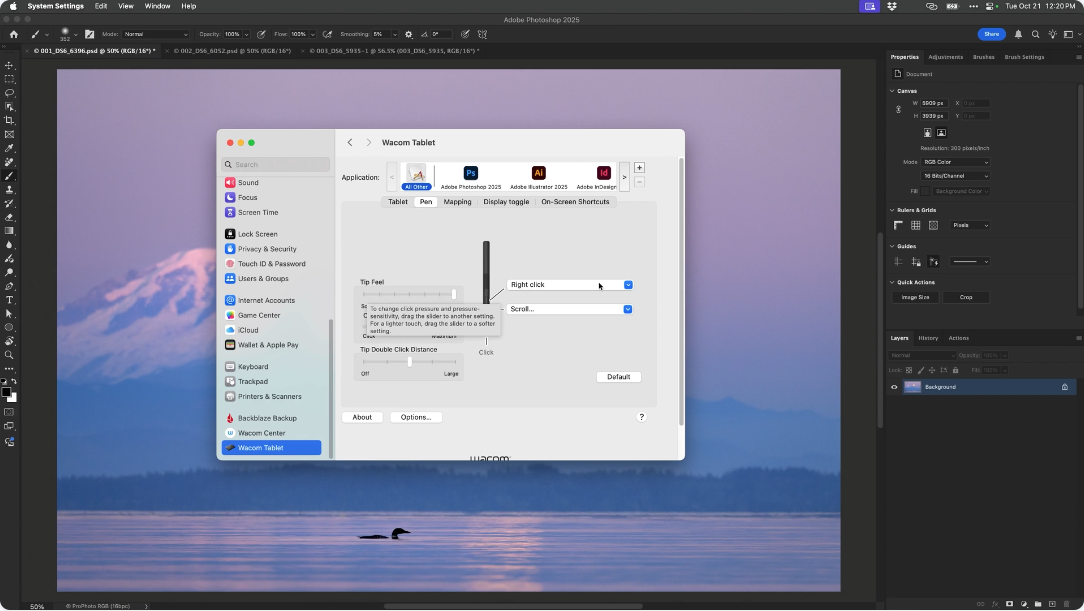
Module 62: Graphics Tablet Setup & Pressure-Sensitive Masking
Set up your graphics tablet for natural, intuitive masking. Dial in pressure sensitivity, brush behavior, and helpful express keys so you can paint light, refine edges, and mask with smooth, precise control.

Module 63: Intentional Underexposure for Highlight Control & Mood
Learn how and why to deliberately underexpose in the field to protect highlights, skies, snow, and bright feather detail. Then recover depth, drama, and subtle mood in post-processing while maintaining authenticity and clean detail.

Module 64: Thoughtful Black-and-White Conversions
Use the Black & White adjustment layer to create purposeful, restrained monochrome edits. Shape tonal structure, deepen contrast, and guide attention — without making the image feel harsh or heavy-handed.

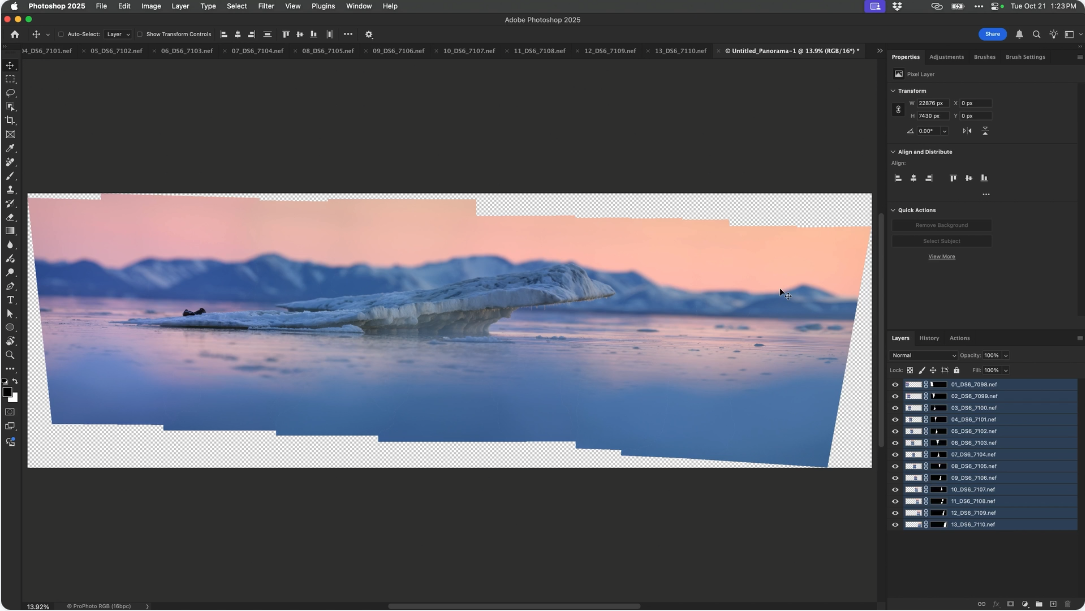
Module 65: Photomerge for Large, Natural Habitat Panoramas
Create wide telephoto panoramas that preserve natural compression and scale. Learn how to shoot for stitching, blend the sequence cleanly in Photoshop, and build expansive wildlife-habitat scenes with a cohesive, natural look.
- Photoshop for Wildlife Photographers — 10 Hours | 65 Modules
- BONUS #1: Ray’s Favorite Keyboard Shortcuts
- BONUS #2: Graphics Tablet Setup and Pressure-Sensitive Masking
- BONUS #3: Intentional Underexposure for Highlight Control and Mood
- BONUS #4: Black-and-White Conversions with Purpose and Restraint
- BONUS #5: Photomerge for Large, Natural Habitat Panoramas
- Watch the course at your own pace.
- Lifetime access to all modules and bonuses.