Join Now to Get Instant Access to This Content Plus You’ll Also Receive These Bonuses!
BONUS #1:
Monthly Live Webinar Trainings
Learn from Award-Winning Photographers in our Live Monthly Trainings.

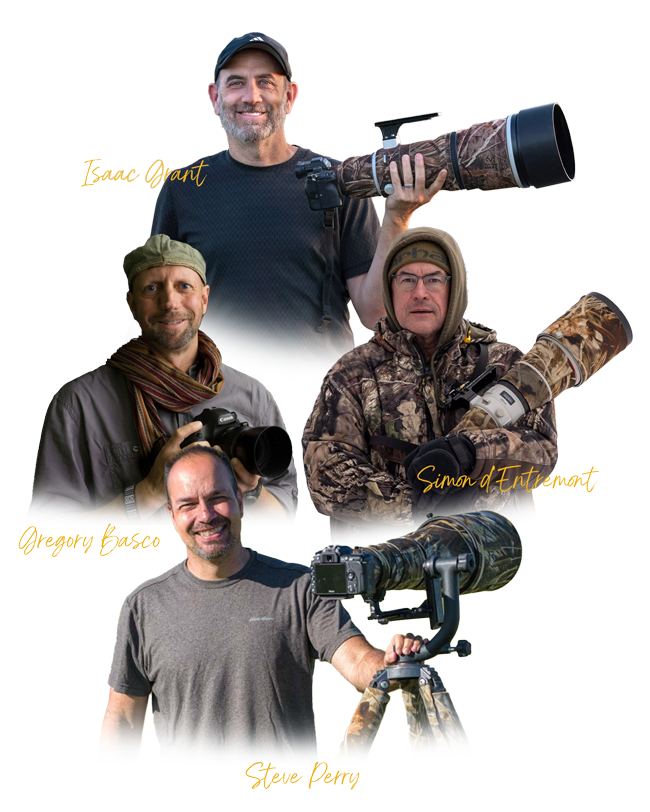
As a member, you’ll get free monthly 90-minute trainings by award-winning professional wildlife photographers like Simon d’Entremount, Isaac Grant, Greg Basco and many more who dive deep into both beginner and intermediate topics. Directly following the trainings, the speaker will open up the floor for 30-minutes of Q&A. You’ll get instant access to all new and past trainings with your membership.
(Value $197.00/month)
Today: Included FREE
BONUS #2:
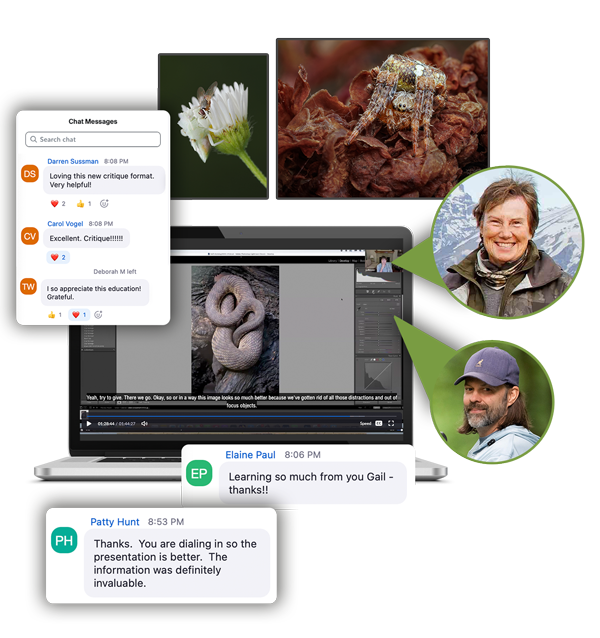
Monthly Live Photo Contest Image Critiques
Learn how to improve your photo contest entries.

We’ll choose 4 to 5 non-winning photos and provide detailed insights on how they could be improved and possibly win next time. Directly following the critique, we will open up the floor for 15-minutes of Q&A. You’ll get instant access to all new and past critiques with your membership.
(Value $197.00/month)
Today: Included FREE
BONUS #3:
Digital Magazine
Workshop-Level Education in an Easy-to-Read Quarterly Publication.

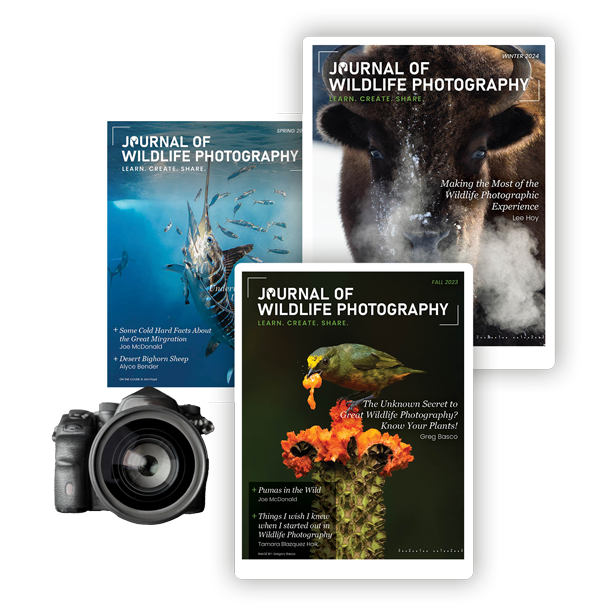
In 2019, the Journal of Wildlife Photography was created to bring wildlife photographers workshop-level training into the pages of a digital publication. With columns on conservation, macro photography, bird photography, animal behavior and habitats, underwater photography, DSLR and Mirrorless Autofocus systems, light and composition, and so much more.
(Value $97.00/year)
Today: Included FREE
BONUS #4:
Social Community
Share Your Photos and Get “Real-Time” Feedback From Our Private Online Community.

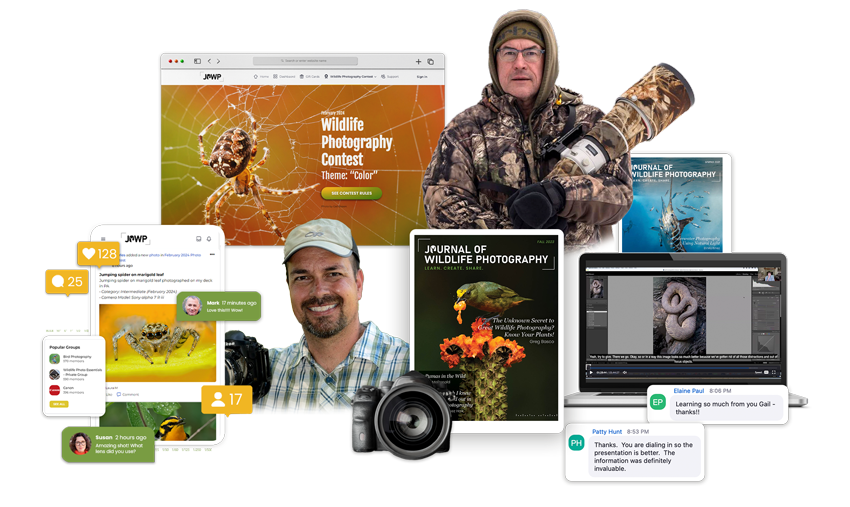
Connect with other wildlife photographers, share your photos, and learn from award-winning professionals through live virtual workshops, training, and seminars. Receive personalized feedback from your peers and get valuable insights from image critiques by working professionals.
(Value $97.00/year)
Today: Included FREE
BONUS #5:
Article Library
In-depth Articles on Wildlife Ecology, Shooting Tips, Field Techniques, and More.

Explore topics such as animal behavior, habitat management, outdoor photography, and shooting skills, among others. Each article is carefully researched and written in an engaging style, making it easy to follow and understand. You’ll get instant access to all new and past articles with your membership.
(Value $97.00/year)
Today: Included FREE
BONUS #6:
Monthly Photo Contests
Every month, JOWP hosts themed photo contests with cash prizes of $500.

(Value $120.00/year)
Today: Included FREE
Join Today and Get Instant Access

Monthly Live Webinar Trainings (Value $2364.00/year)
Monthly Live Photo Contest Image Critiques (Value $2364.00/year)
Digital Quarterly Magazine (Value $97.00/year)
Social Community (Value $97.00/year)
Article Library (Value $97.00/year)
Entry into our monthly photo contests. (Value $120.00/year)
Total Value: $5139.00/year
LIFETIME
- 10 free contest entries per month included for life.
- Lifetime access to live monthly photo critiques of contest winners and runners-up.
- Lifetime access to ALL back issues of the Journal, video library, and in-depth articles.
- Lifetime access to live monthly trainings + all past trainings.
- Lifetime access to the "Facebook-like" social media community.
- 15% OFF all future full-price purchases
ANNUAL PLUS+
- 5 free contest entries per month included for one year.
- Access to live monthly photo critiques of contest winners and runners-up.
- Instant access to ALL back issues of the Journal, video library, and in-depth articles.
- Access to live monthly trainings + all past trainings.
- Access to the "Facebook-like" social media community.
ANNUAL
- 1 free contest entries per month included for one year.
- Access to live monthly photo critiques of contest winners and runners-up.
- Instant access to ALL back issues of the Journal, video library, and in-depth articles.
- Access to live monthly trainings + all past trainings.
- Access to the "Facebook-like" social media community.
LIFETIME
- Lifetime access to live monthly photo critiques of contest winners and runners-up.
- Lifetime access to 5+ years of back issues to the Journal, video library, and 100+ articles.
- Lifetime access to live monthly trainings + all past trainings.
- Lifetime access to the"Facebook-like" social media community.
- 15% OFF all future full-price purchases
- FREE “Mastering Light: The Essence of Wildlife Photography” eBook ($97 Value)
- FREE “The Photographer's Guide To The Outer Banks” eBook ($49 Value)
ANNUAL PLUS+
- Access to live monthly photo critiques of contest winners and runners-up.
- Instant access to 5+ years of back issues to the Journal, video library, and 100+ articles.
- Access to live monthly trainings + all past trainings.
- Access to the"Facebook-like" social media community.
ANNUAL
- Access to live monthly photo critiques of contest winners and runners-up.
- Instant access to 5+ years of back issues to the Journal, video library, and 100+ articles.
- Access to live monthly trainings + all past trainings.
- Access to the"Facebook-like" social media community.
Yearly Membership
- 1 free entry into our year-end photo contest in December with a cash prize of $2,000 per category winner.
- 1 free entry per month into our monthly photo contests with cash prizes of a least $250/month. (No limit on how many times you can win).
- Free monthly photo critique of contest winners and runners-up.
- Winners get their work published in our magazine.
- One year access to new JoWP magazine issues.
- Instant access to 5+ Years of back issues to the Journal, video library, and 100+ articles.
- One year access to monthly trainings + instant access to all past trainings.
- One year access to the"Facebook-like" social media community.
Lifetime Membership
- 1 free entry into our year-end photo contest in December with a cash prize of $2,000 per category winner.
- 1 free entry per month (10 free entries coming soon) into our monthly photo contests with cash prizes of a least $250/month. (No limit on how many times you can win).
- Free monthly photo critique of contest winners and runners-up.
- Winners get their work published in our magazine.
- Lifetime access to new JoWP magazine issues.
- Instant access to 5+ Years of back issues to the Journal, video library, and 100+ articles.
- Lifetime access to monthly trainings + instant access to all past trainings.
- Lifetime access to the "Facebook-like" social media community.
- 15% off all future full price purchases.
- FREE eBook “Mastering Light: The Essence of Wildlife Photography” ($97 Value)
- FREE eBook: – “The Photographer's Guide To The Outer Banks” ($49 value)
